How to Use Hidden Fields in Vine Forms
Often, you have a complex interactive process on your site. For example, you might have a custom test or a presentation done with JavaScript where you, first, communicate with the visitor and gather some data. Then you want to ask the visitors for contact data and send data to them.
This can be easily achieved with Vine forms and here is some guidance how to do this step by step:
- Create a simple Vine contact form that will
- identify the visitor or ask for email if the visitor is anonymous
- have hidden fields such as Event Description. Which you can fill with your custom data using JavaScript (for example, your test results).
- Create an email to be sent when the form is submitted.
- Create an automation rule that will trigger on the form submit and send the email with test summary.
(Of course, there could be other variations. For example, you can use your own custom JavaScript form to ask for contact data, use JavaScript code to fill a totally hidden Vine form and then submit it using JavaScript).
Step 1. Creating Vine form
Create a contact Vine form which will identify the site visitor and ask for email (and, possibly, other contact data) if the visitor is anonymous. Add a field which will be hidden and where you will enter your custom data to be later sent to the visitor.
In the following sample form, the Event Description field is used as a hidden one. (If, for example, number values are needed then any of the person custom number fields can be used.)
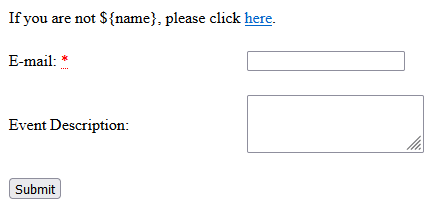
(Do not forget to clear the Mandatory flag from the hidden field as this will prevent the form from submitting.)
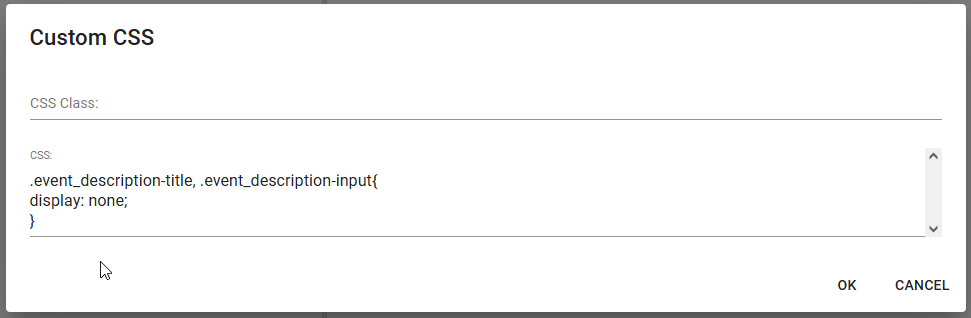
To hide the Event Description field, you can use the following CSS:
You can fill the hidden field with your data using, for example, the following JavaScript:
- New forms
var shadowParent = document.querySelector(".VineForm");

shadowParent.shadowRoot.getElementById('event.description').value="text";
- Old forms not using Shadow DOM:
document.getElementById('event.description').value='sample data';It is recommended to preview your form for the identified and anonymous users:


Step 2 . Creating Email
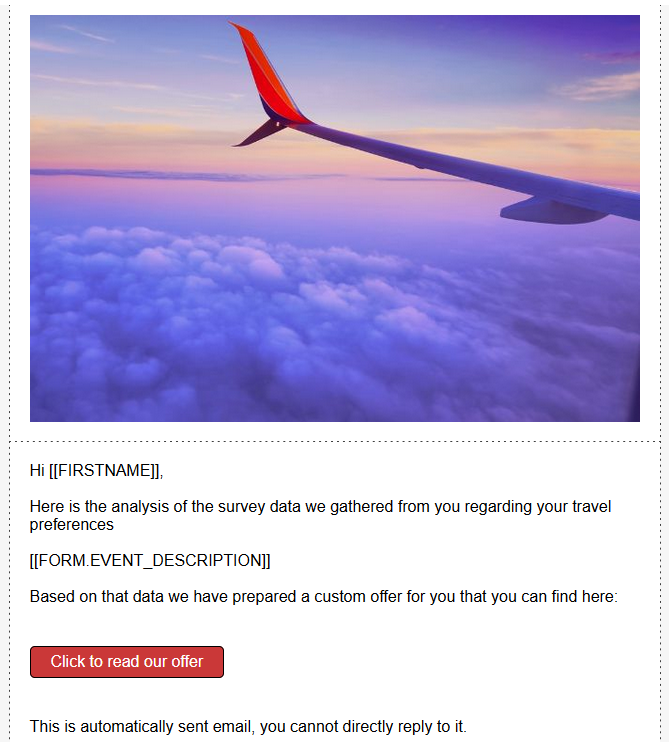
Create an email where you can insert data from the hidden form field using the [[FORM.FIELD]] syntax.
For example, if you are using the Event Description field to store your data then you can insert the data in email using the [[FORM.EVENT_DESCRIPTION]] tag:
Step 3. Creating Automation Rule
Create an automation that will trigger when your site visitor submits the form and then will send the email with the data from the hidden field:
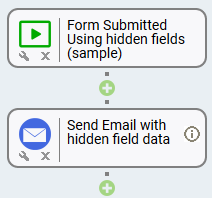
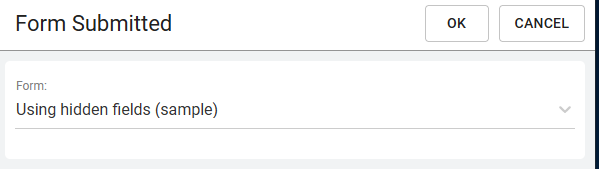
When creating the Form Submitted trigger please select the form you created in step 1.
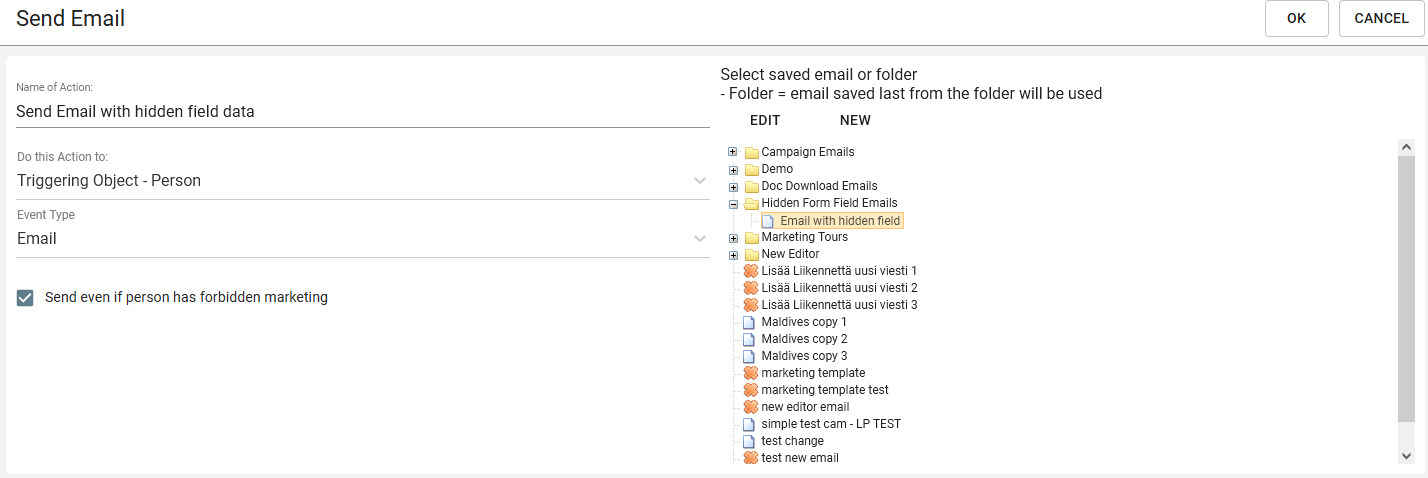
When creating the Send Email action you need to select the email you created in step 2:
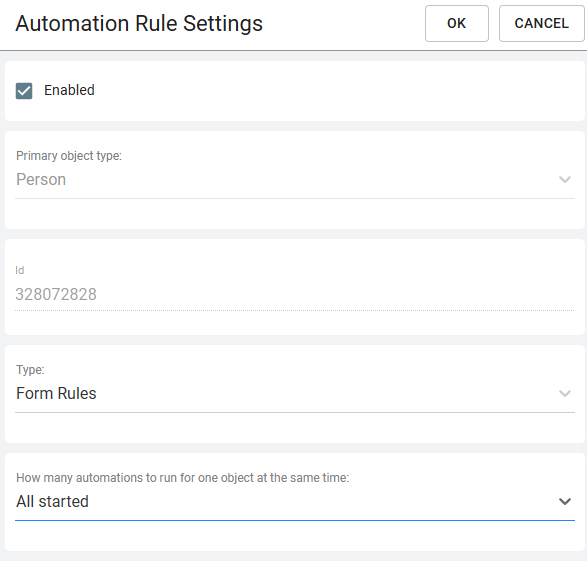
Enable the automation rule and verify its settings. Consider carefully what you need to select from the How many automations to run setting. For automations started by a form submit, you normally should select All started:
Comments
0 comments
Please sign in to leave a comment.